The first thing to do in AWeber to get started is to create an email list.
I typically create one list per affiliate site, but you can create multiple lists for your site if you have a need.
After logging in to AWeber, click the “My Lists” tab and then the “Create a New List” button.
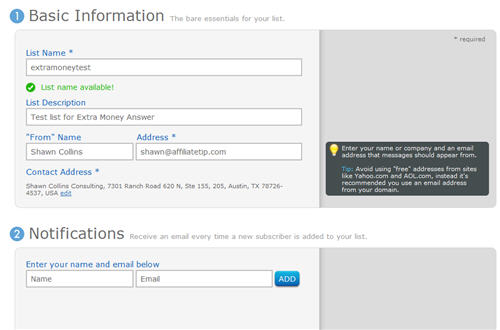
Then you'll enter in some basic information (list name, list description, “from” name for your emails, and the “from” email address).
Your contact snail mail address, which is a requirement, will be pre-populated, as you provided this when you created your account.
There is also an option to receive an email every time a new subscriber is added to your list. I did that once and it got pretty annoying, so I'd suggest not using that feature.
Click “Save Settings” after you've entered your information.
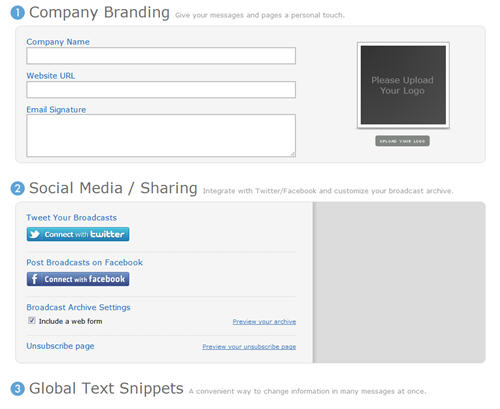
Next up, you personalize your email list by entering your company information (company name, company url, email signature, company logo), as well as linking up the list to Facebook and Twitter, and adding some “Global Text Snippets” that will appear in the footer of each of your emails.
I'd suggest focusing on the company branding section to start, and you can go back to add in the Facebook and Twitter parts, as well as the “Global Text Snippets” later on.
The other features are dynamic, but it's most important to get things in place now and start building your list.
Click “Save Settings” after you've entered your information.
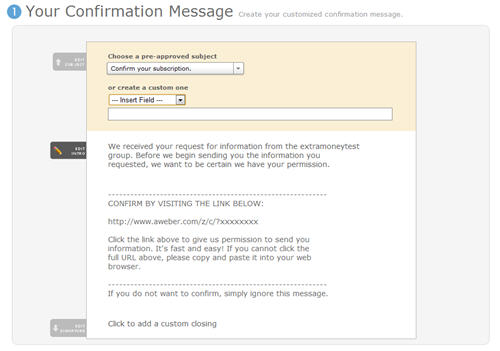
The final thing to do is to personalize your confirmed opt-in message, which is an email your future subscribers will receive when they submit their email to join your list.
There are a handful of areas that can be personalized, and I encourage you to take advantage of all of them.
I would suggest using the first name option in both the subject and the start of the email text, adding a short message in the body of the email to explain what will be in your emails, and then edit the signature to provide your contact information.
Your subscribers are valuable, so make yourself available from the start of the relationship.
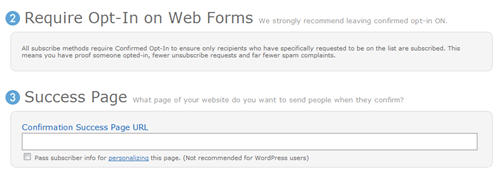
There are a couple more items on this page before you're finished: Require Opt-in on Forms and Success Page.
Skip on by the part about requiring opt-in – you want that and there is nothing you have to change.
As far as the success page, that's where people will be sent after they confirm their email subscription. You can make a custom page in WordPress to welcome them and post that URL here.
Click “Save Settings” and now you've got a new email list to start building.
Now you can move on to RSS to email, email newsletters, and an email follow-up series.


HI Shawn,
I so thank you for this awesome inf., I have a aweber suscription, I would like this to go to my page, how do I install this app. to my site, so I can creat the list?. Do I just download it to my site, or take from my computer to my site. I am new at all of this, and I find your sharing so clear and to the point.
Thank you again
Hi Rosa –
This isn’t an app – the information above describes how to set up a list and then you get the code from AWeber to add to your site.